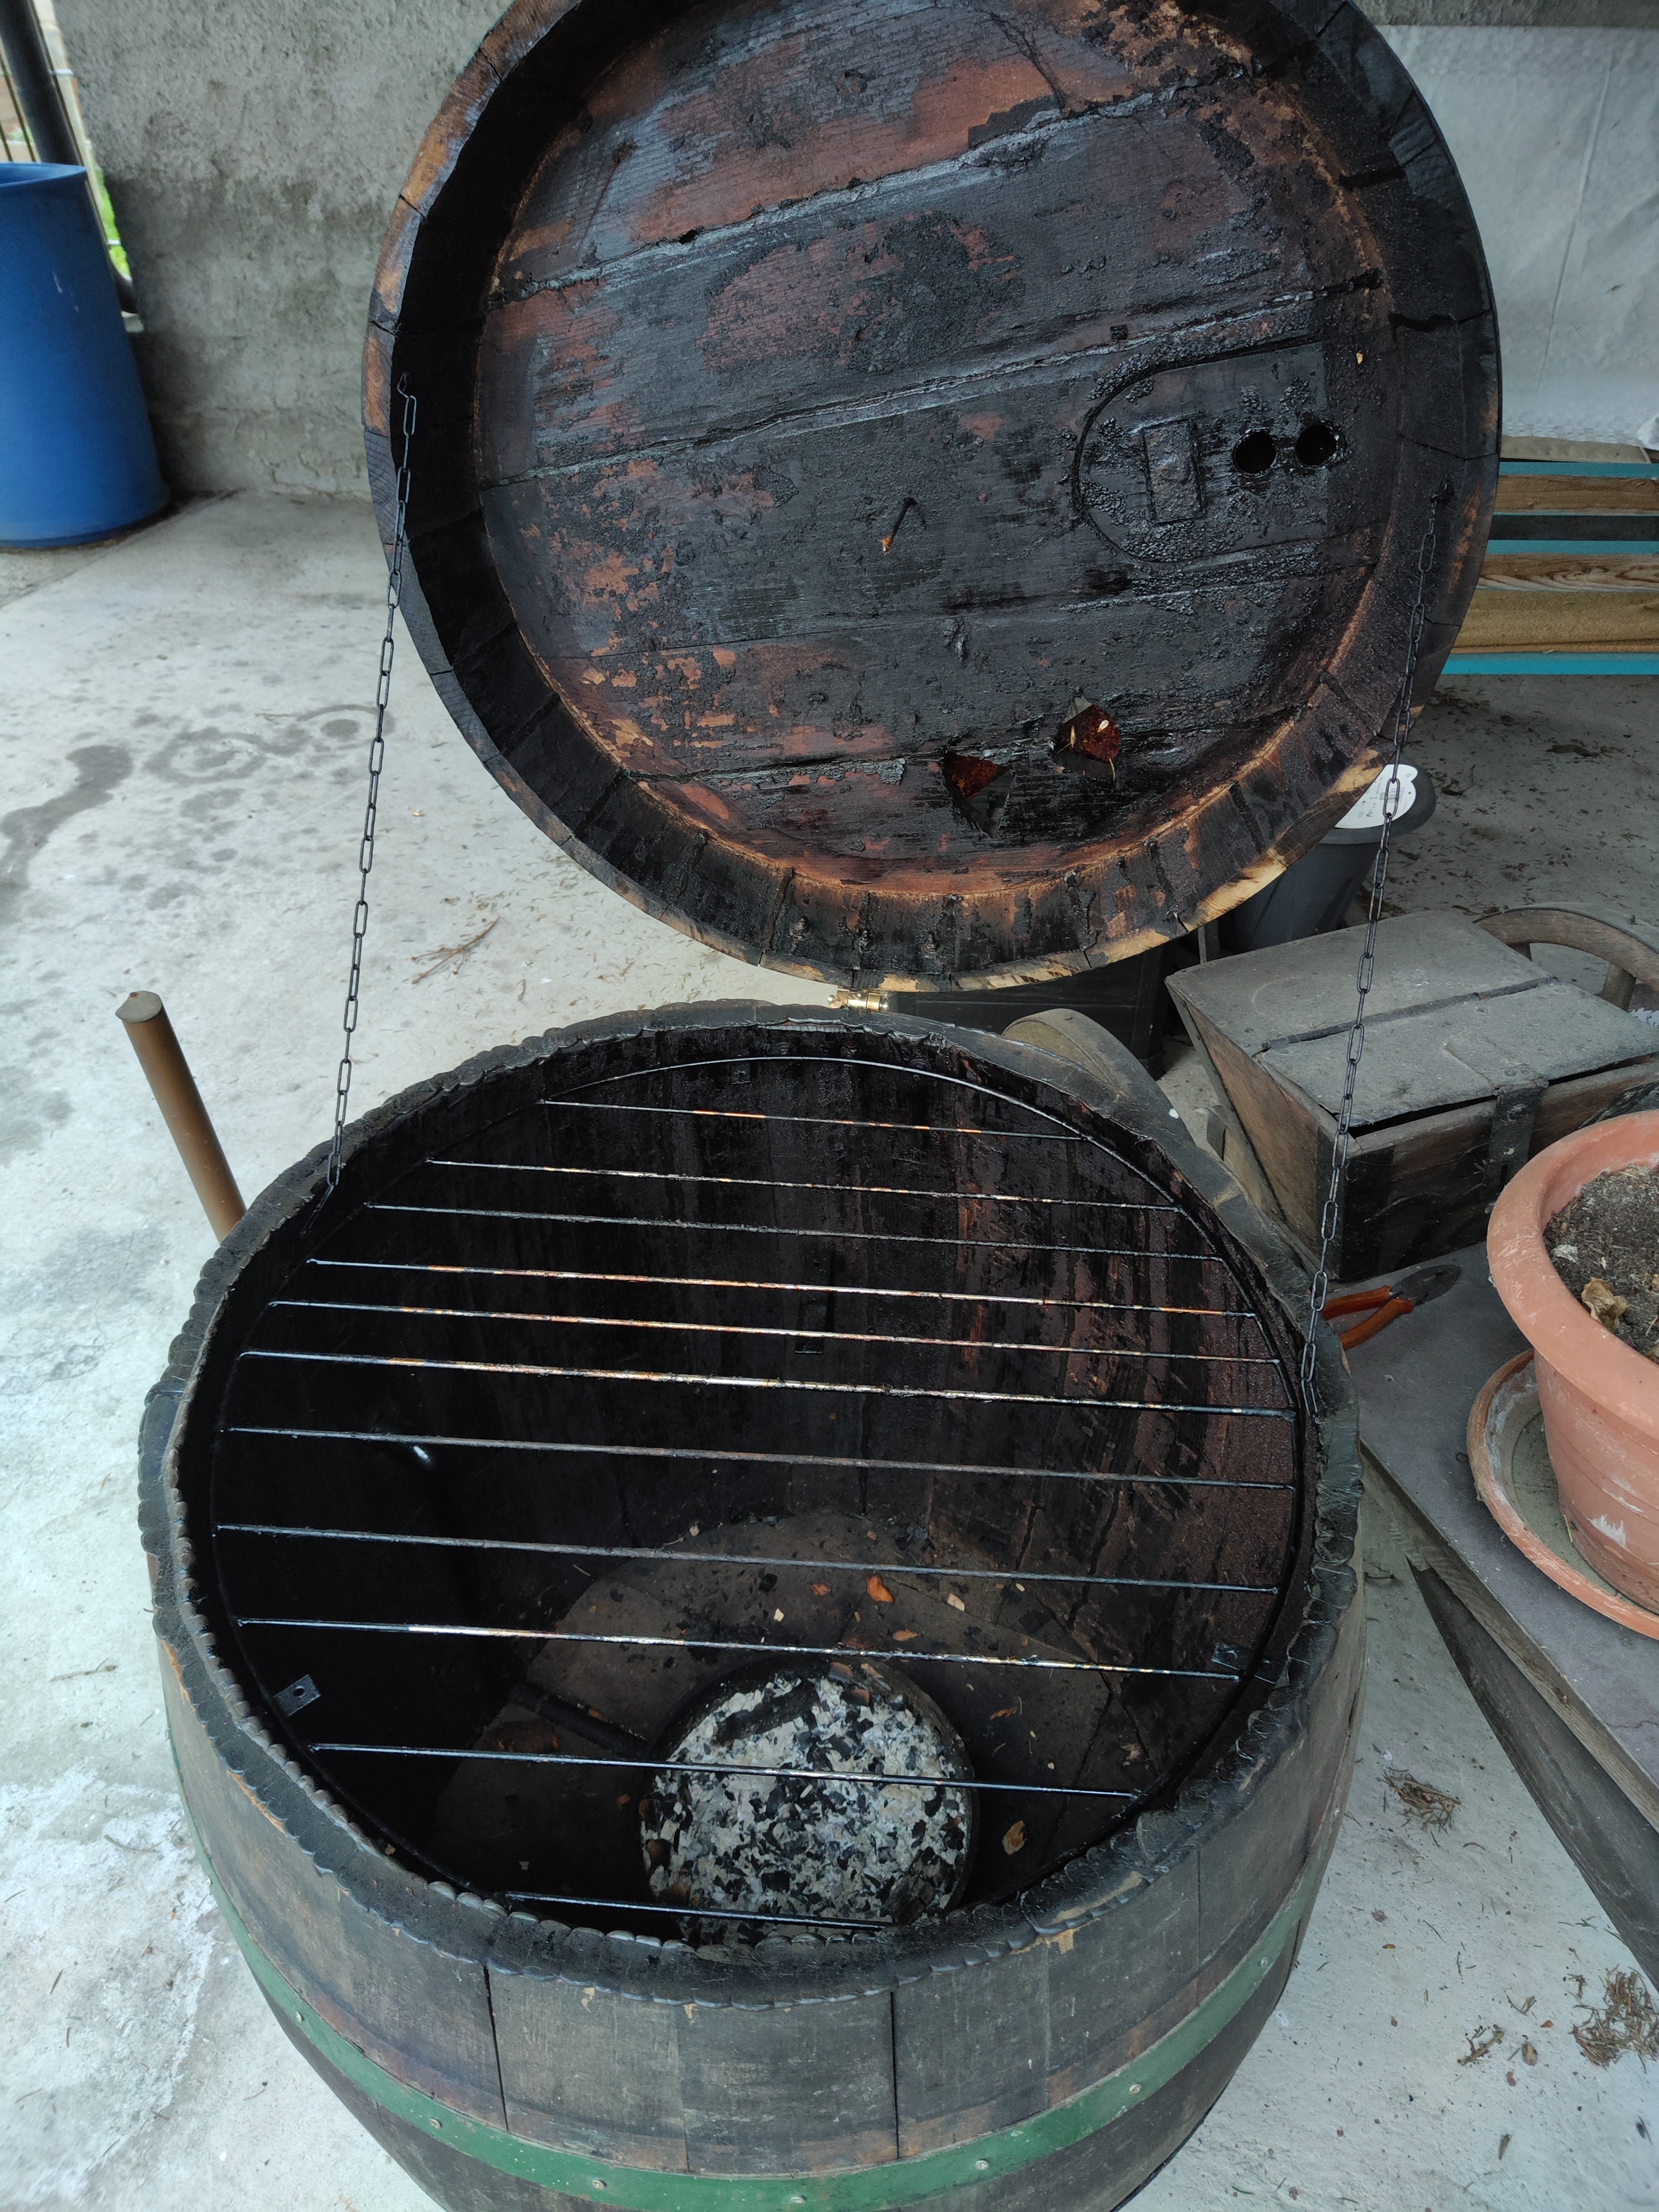
There is one wine barrel that lies around in my backyard and I didn’t want to throw it away so I thought of something to do with it. I checked the interwebs for some guidance where I found some Youtube videos which seemed quite helpful and some textual guides, which were only practical when there were pictures included.
- Wine Barrel Smoker
- How to build a Wine Barrel Smoker
- DoItYourself.com
- Instructables.com
- blogspot.com
The initial idea
All these people that made these smokers, didn’t really upload any plans for the smokers, they just made it from their mind. So I thought to myself, why not create one with included drawings, which makes it easier for others to improve based on my designs and ultimately lead to the best possible wine barrel smoker.
Here is the BOM and simple drawing of the barrel with steps written down, but sadly it’s in Slovenian:
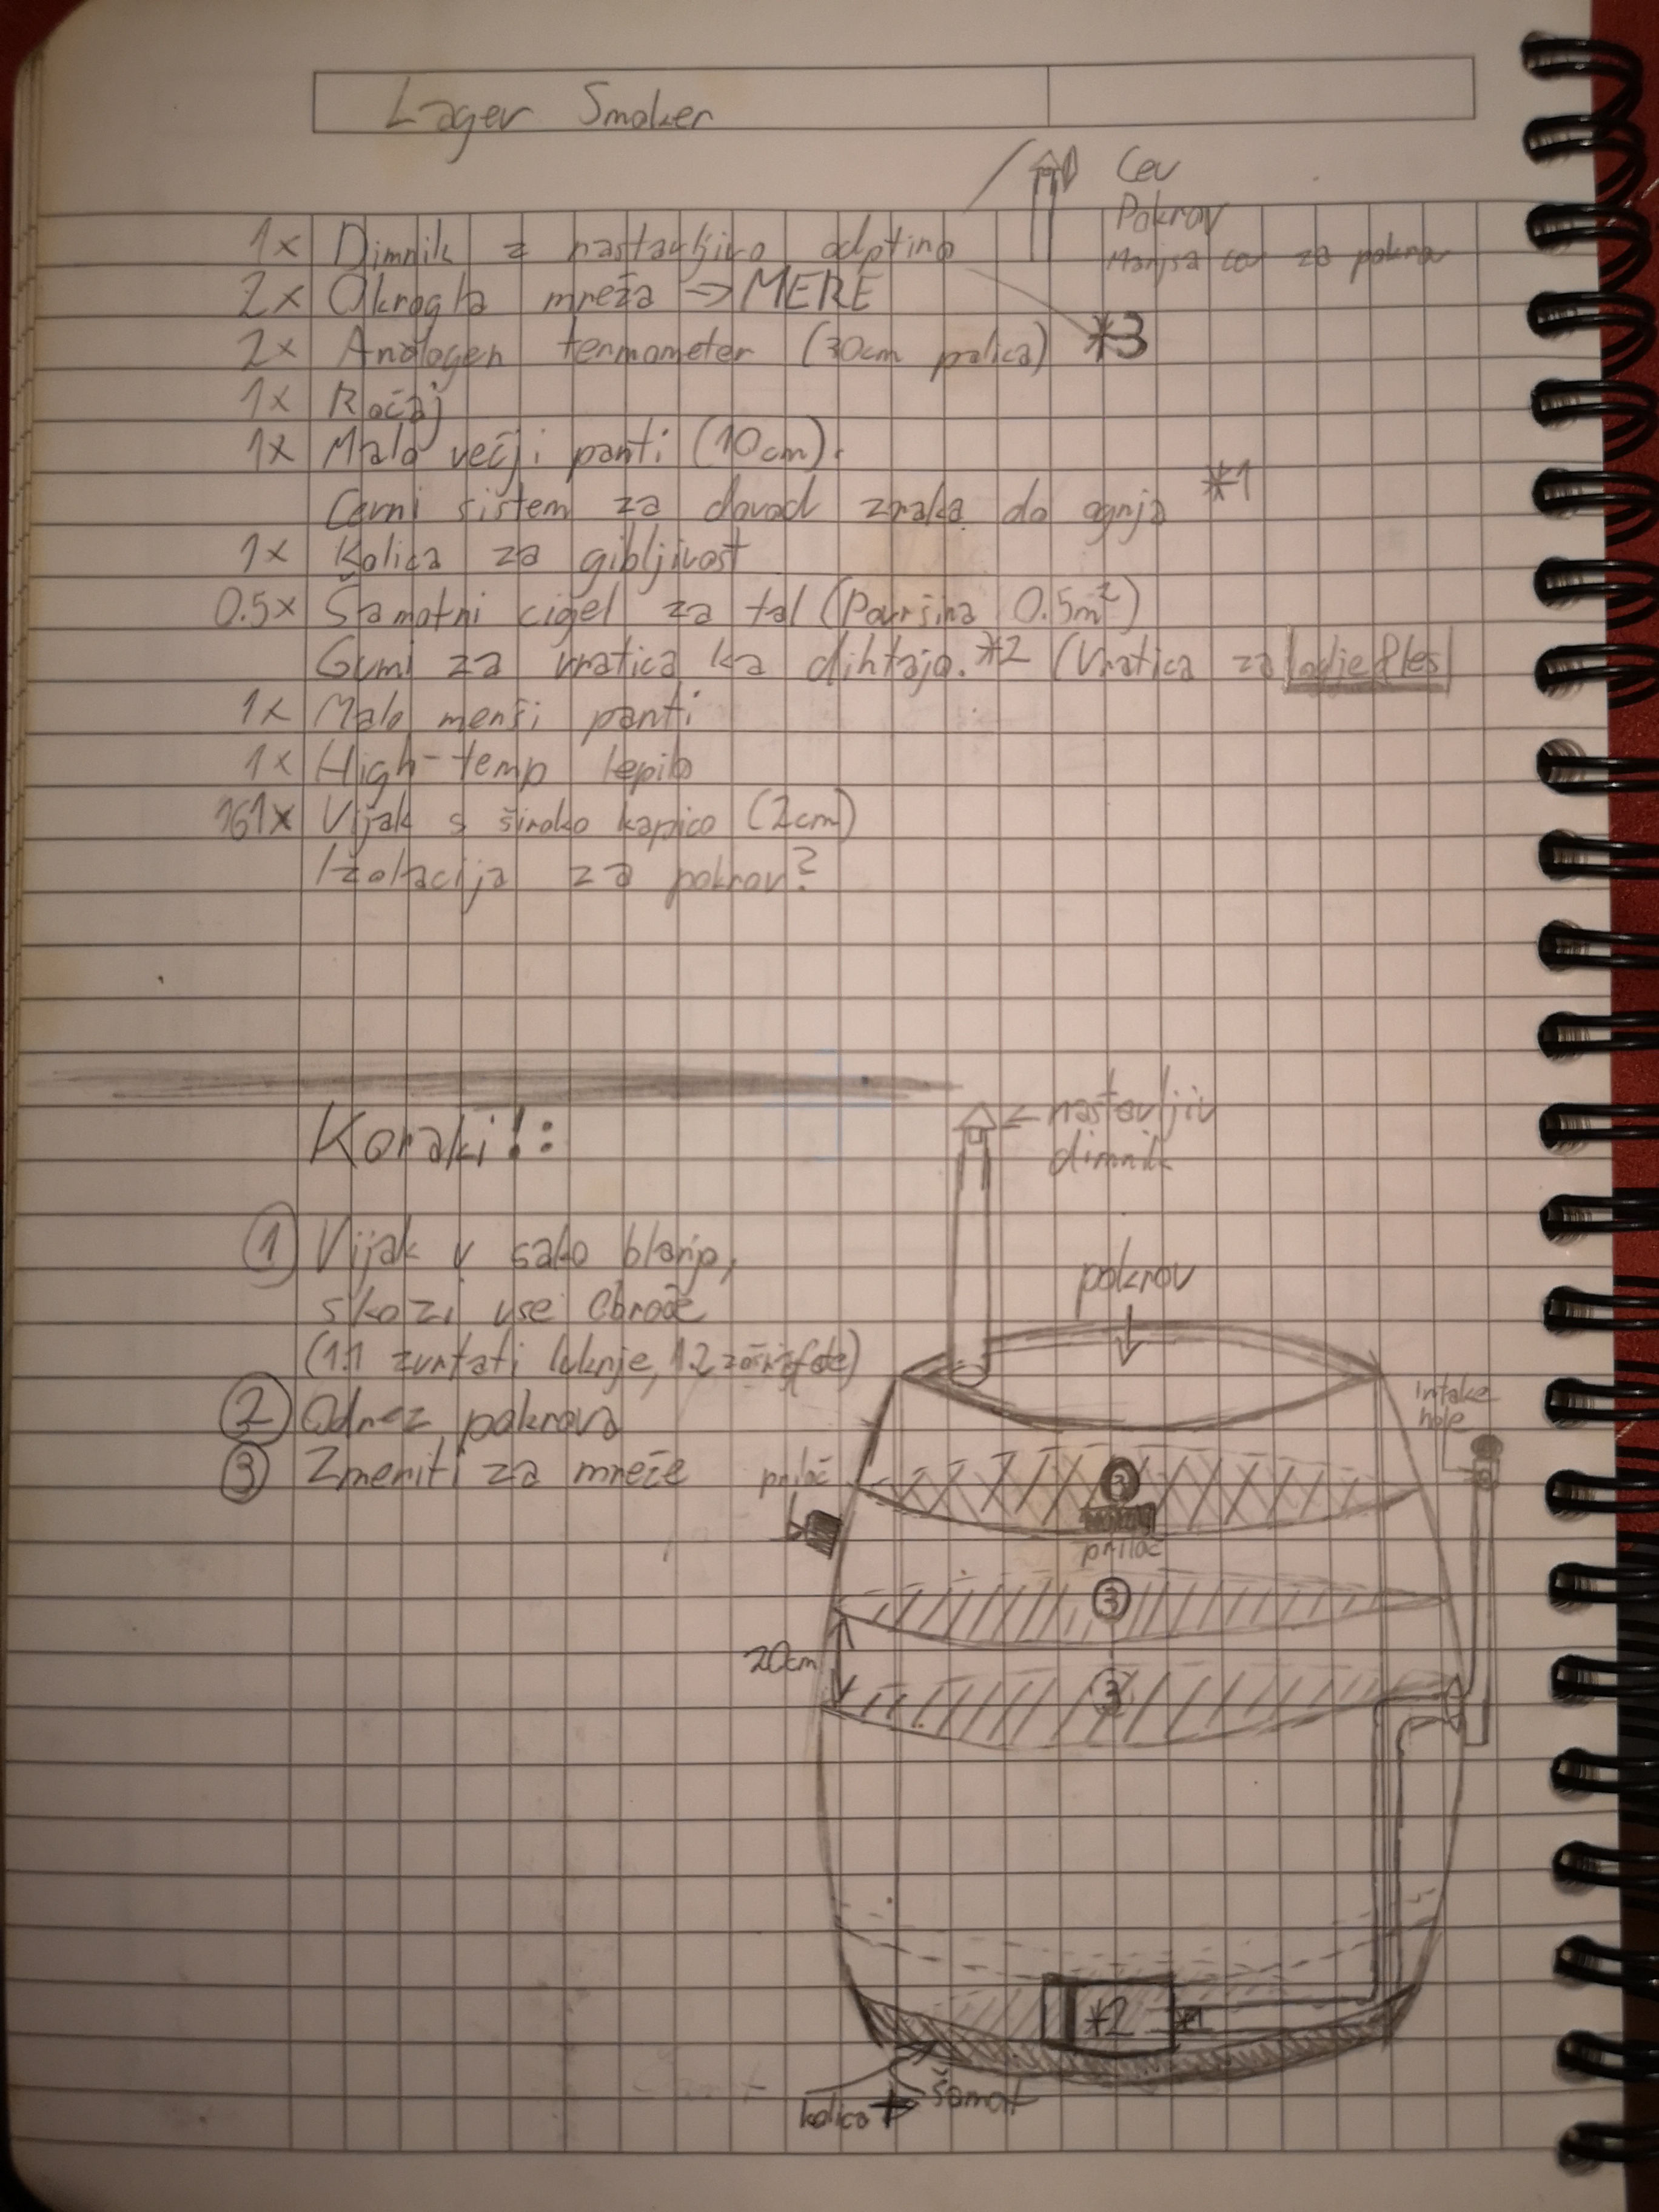
The annoying part
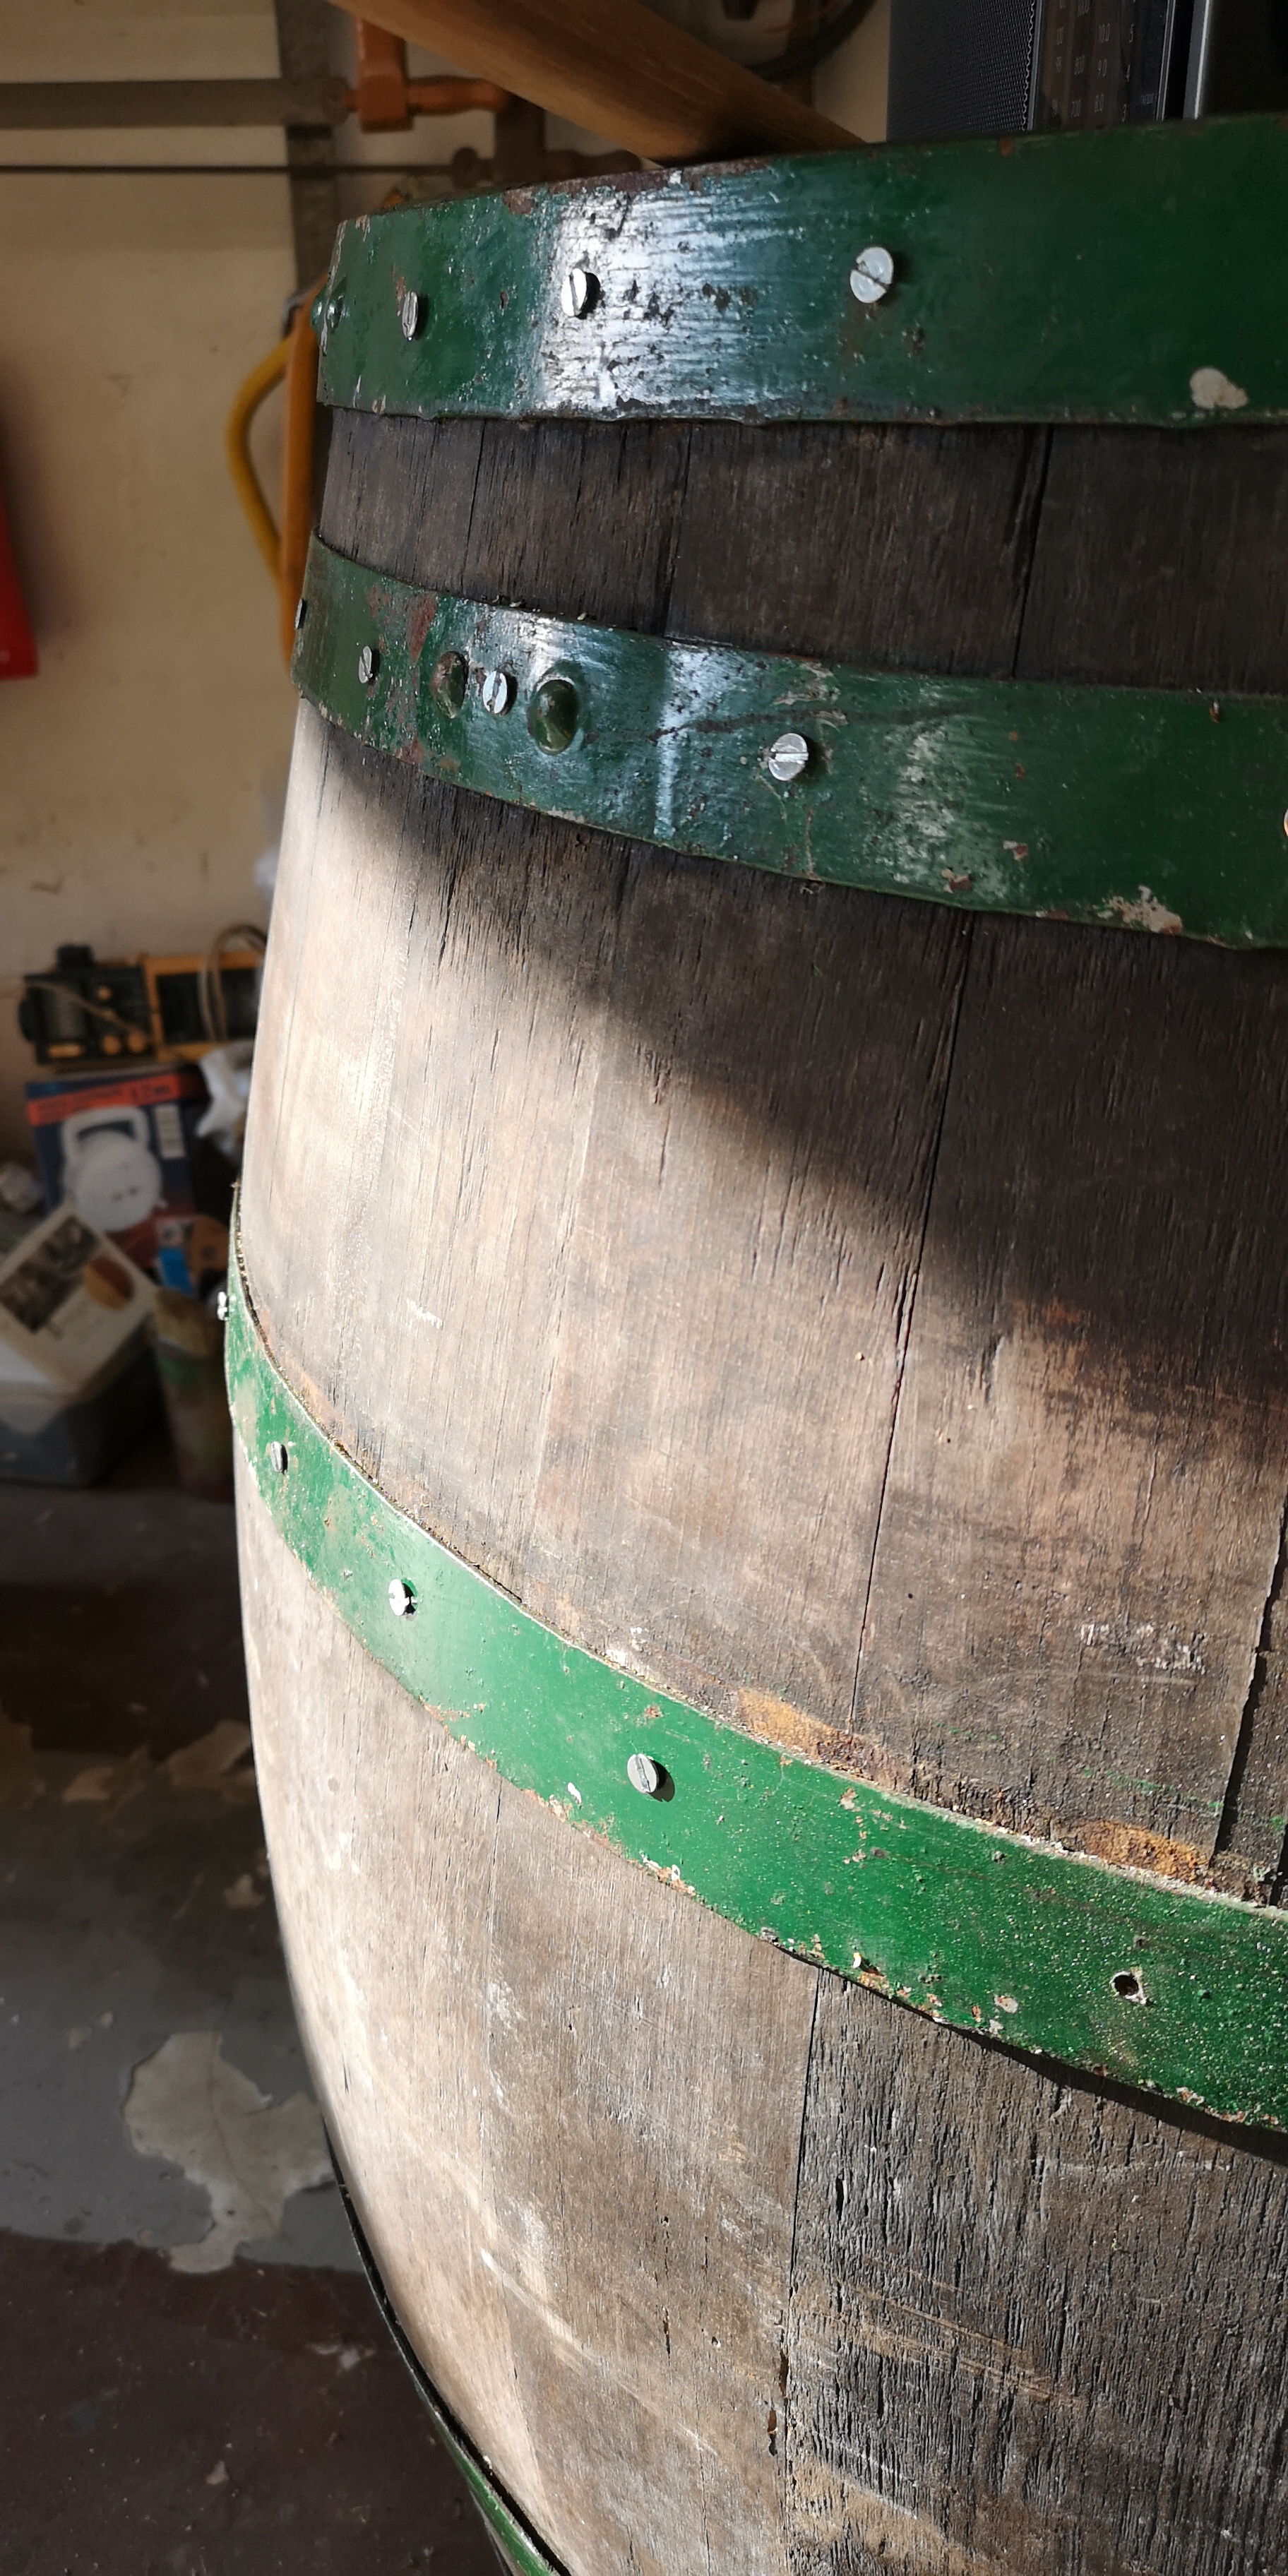
The planks and barrel hoops need to be screwed together, because splitting the barrel into two pieces can make it fall apart. Video No. 4 shows that tightening the hoops by hitting them towards the belly of the barrel is also an option, but I did not choose this way because it doesn’t look everlasting. I went with screws. This takes some time, some of the other people said it takes from 1-2 hours, but it took me 2 hours.
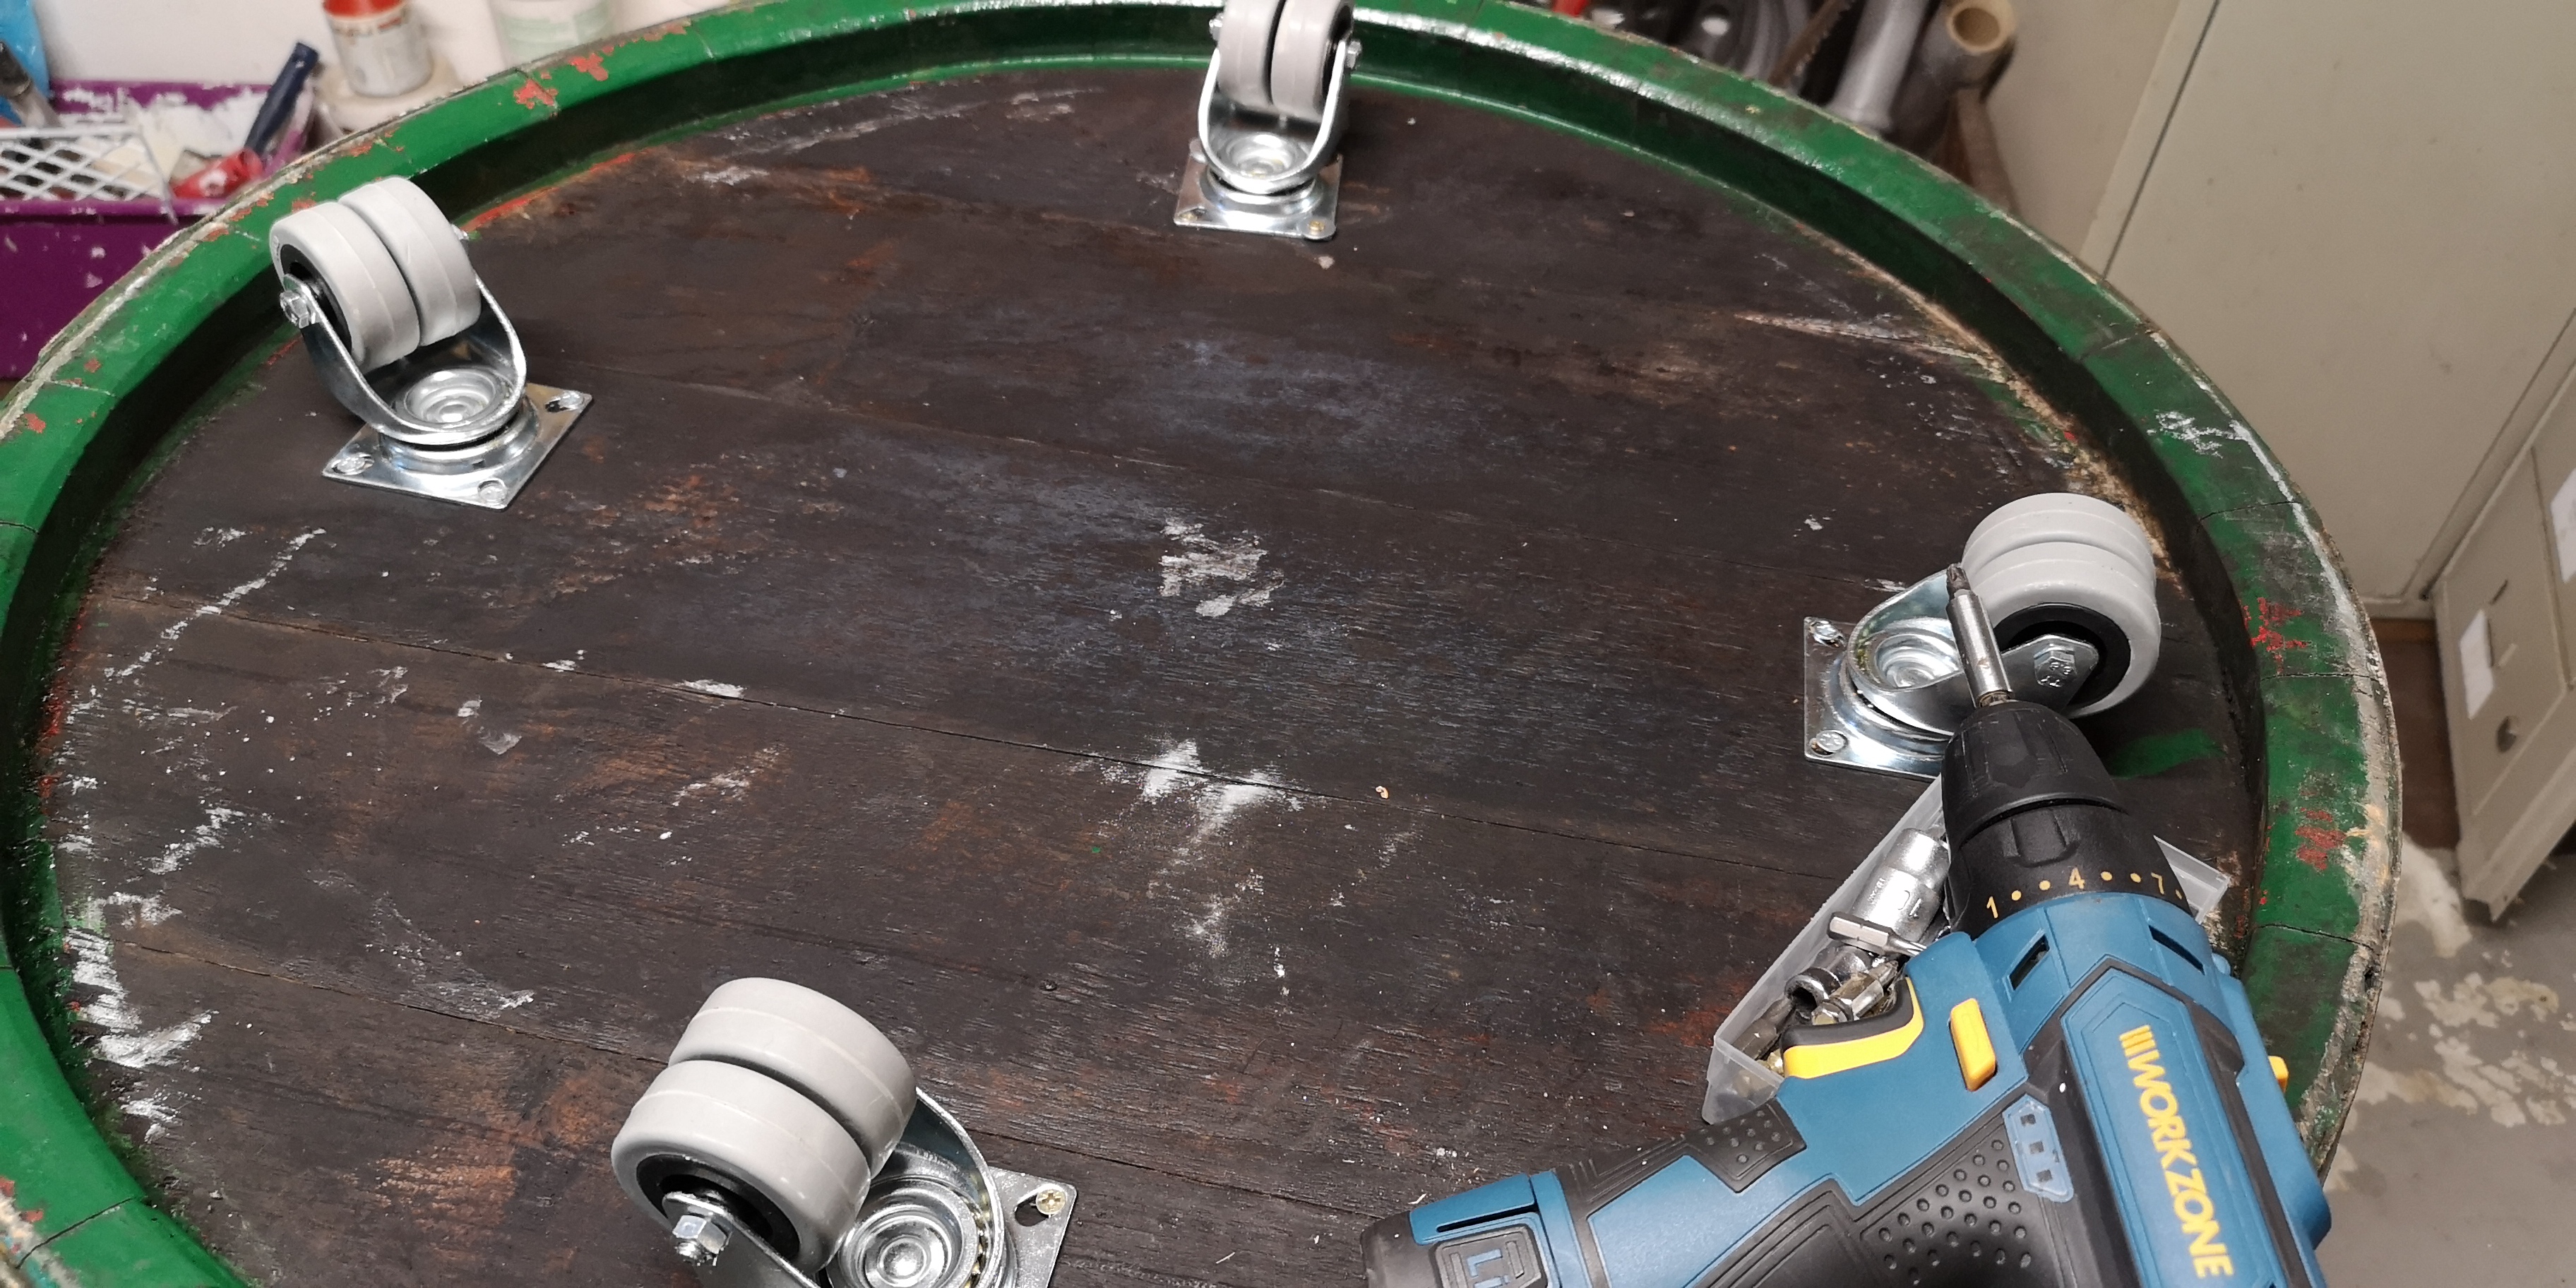
I also added some wheels to keep it portable as much as possible.
The split
After the screwing was done, I used my Bosch circular saw which has a distancer included. I used it to measure of about 15 centimeters from the top and then just cut straight around the barrel. This was quite a straight forward task because of the tools available. But as i am a professional the cutting wasn’t as good as could be, it was a bit zigzag which I solved with heat resistant silicone.
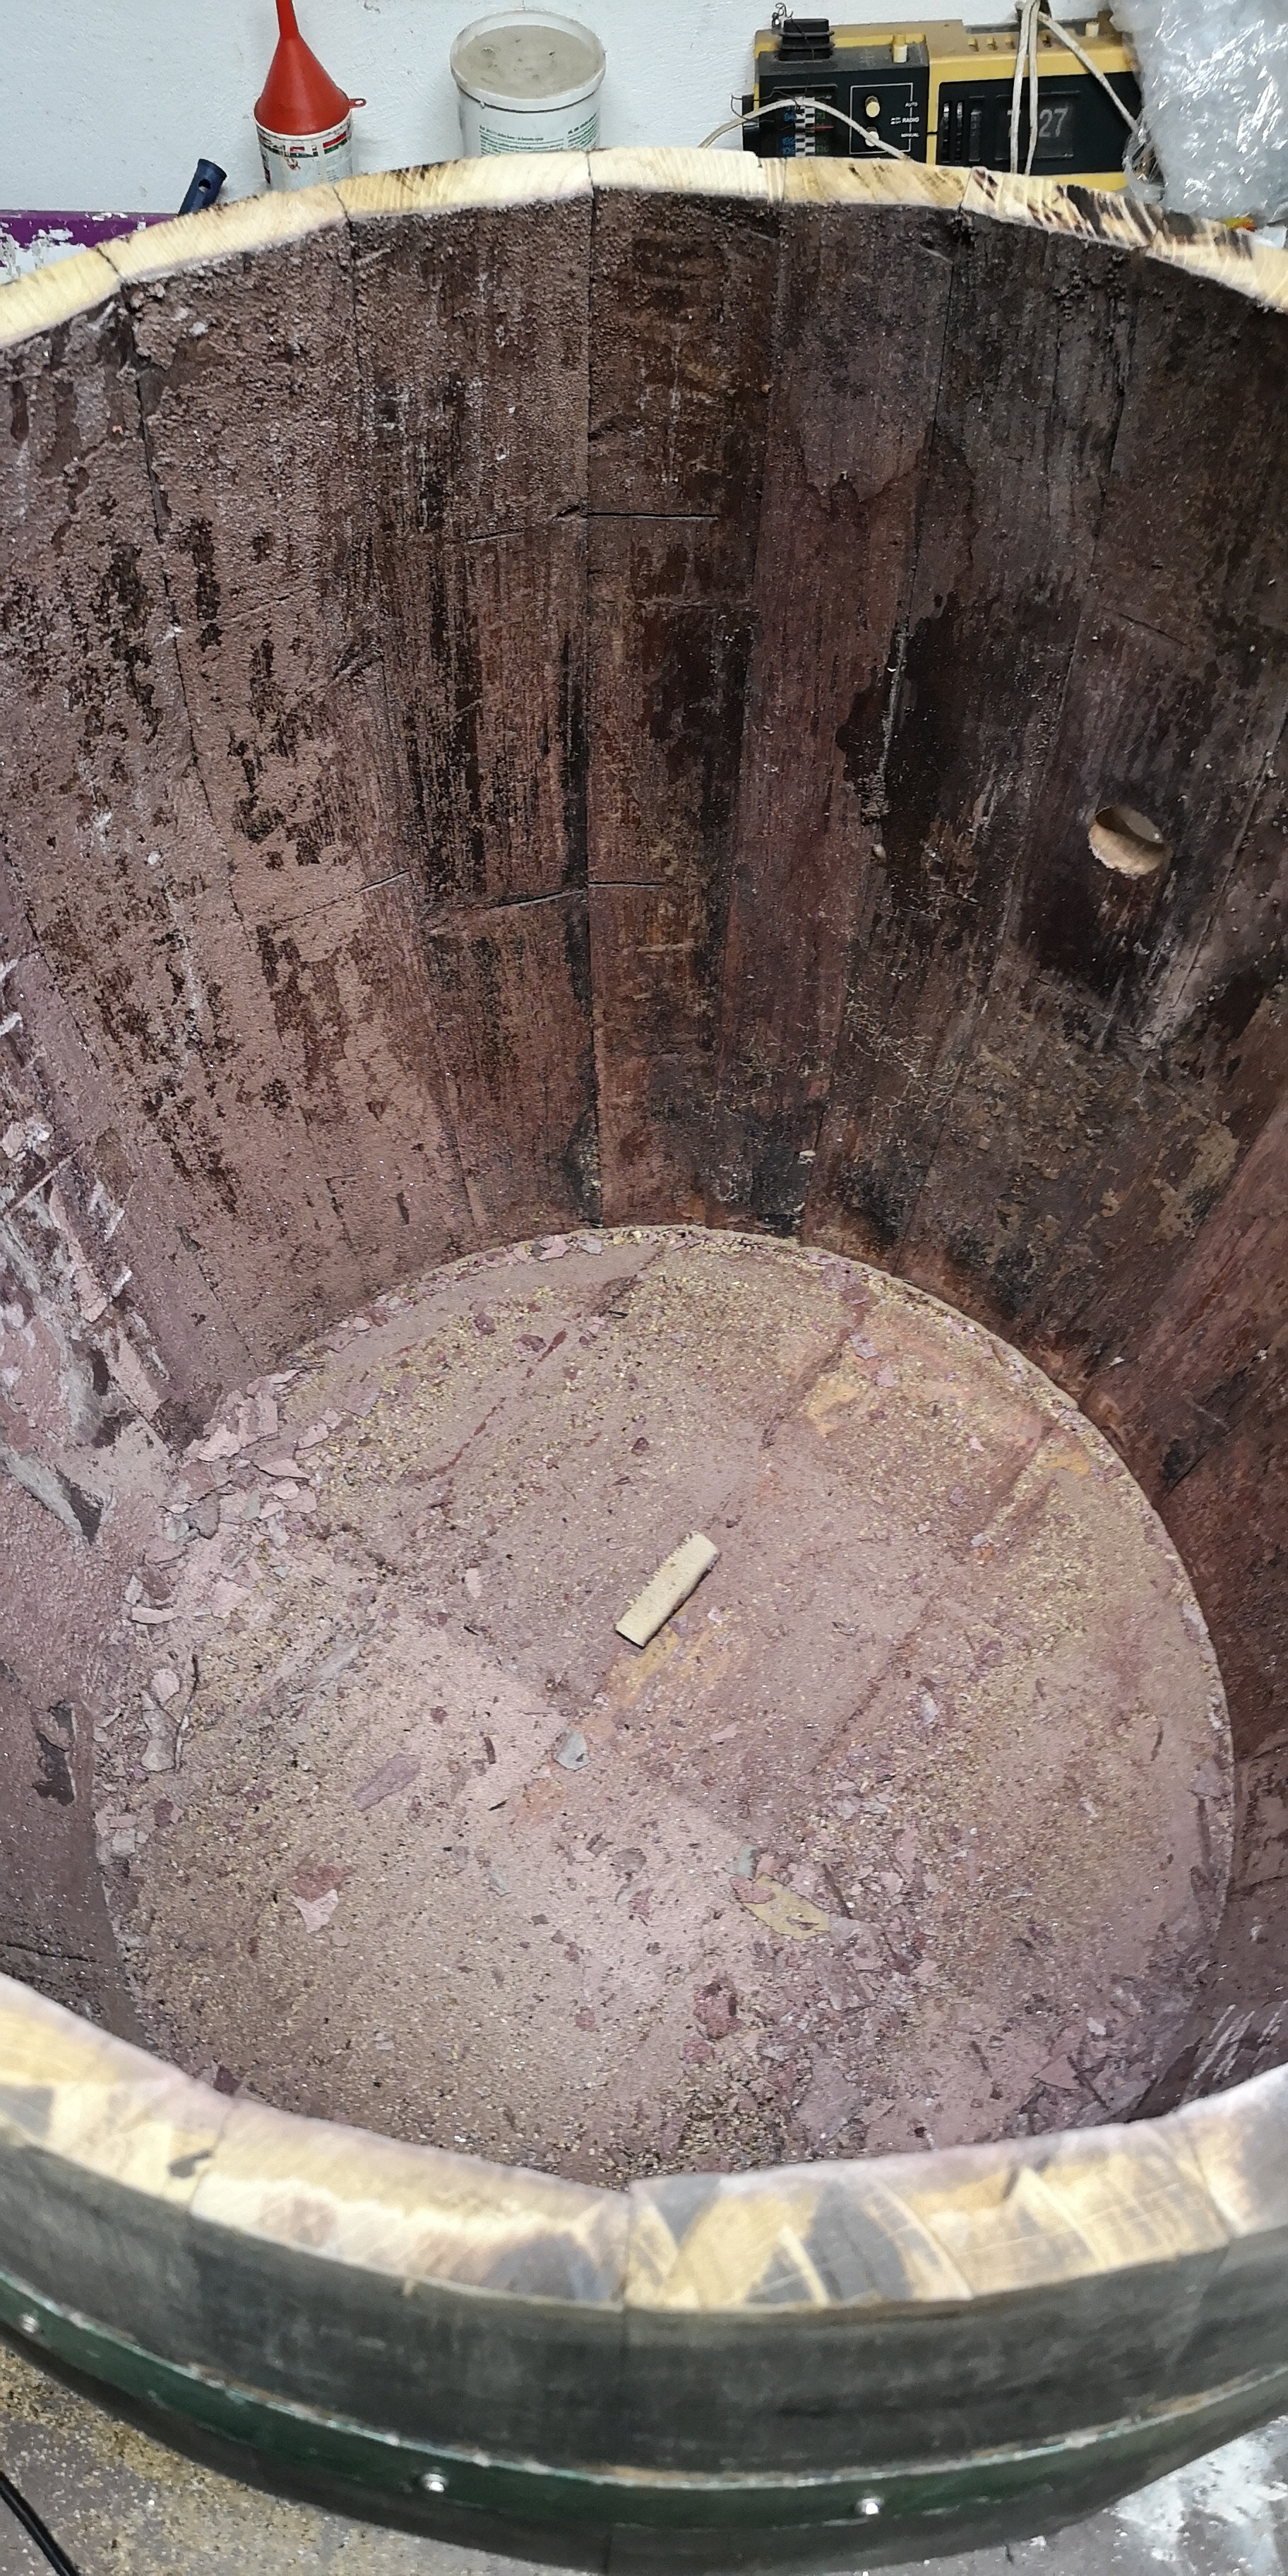
The heat resistant silicone
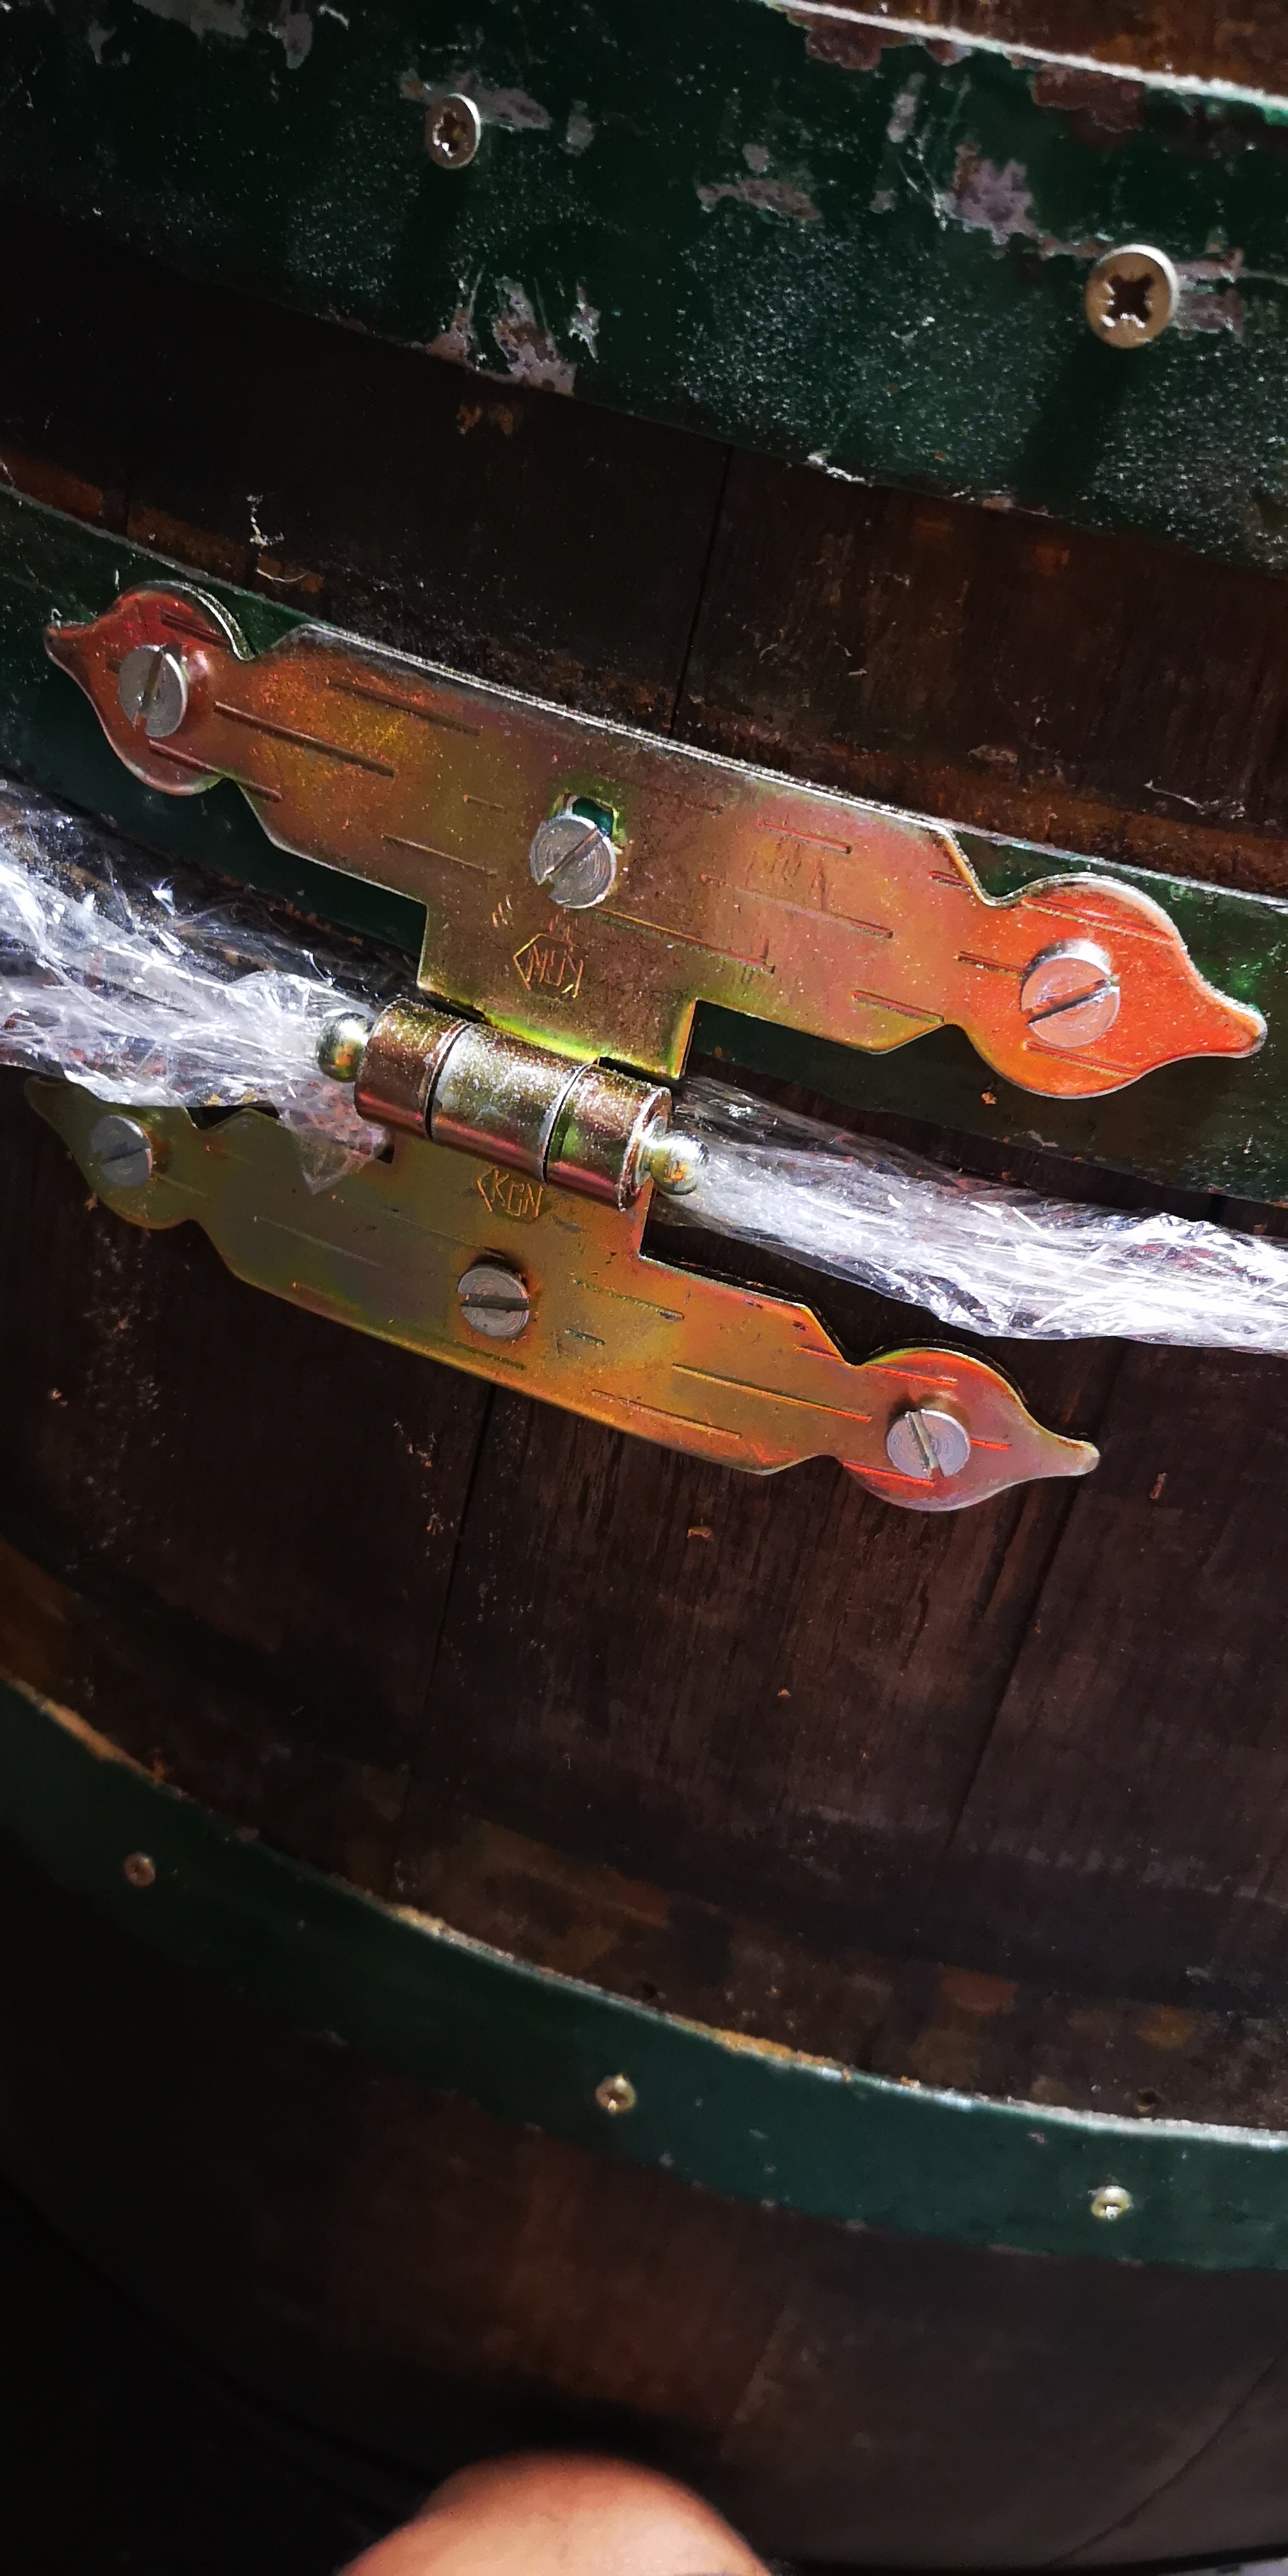
Because of the zigzag cuts i had to use some silicone to make it air-tight(er). Before adding the silicone I screwed the two pieces together with a hinge to keep it positioned correctly.
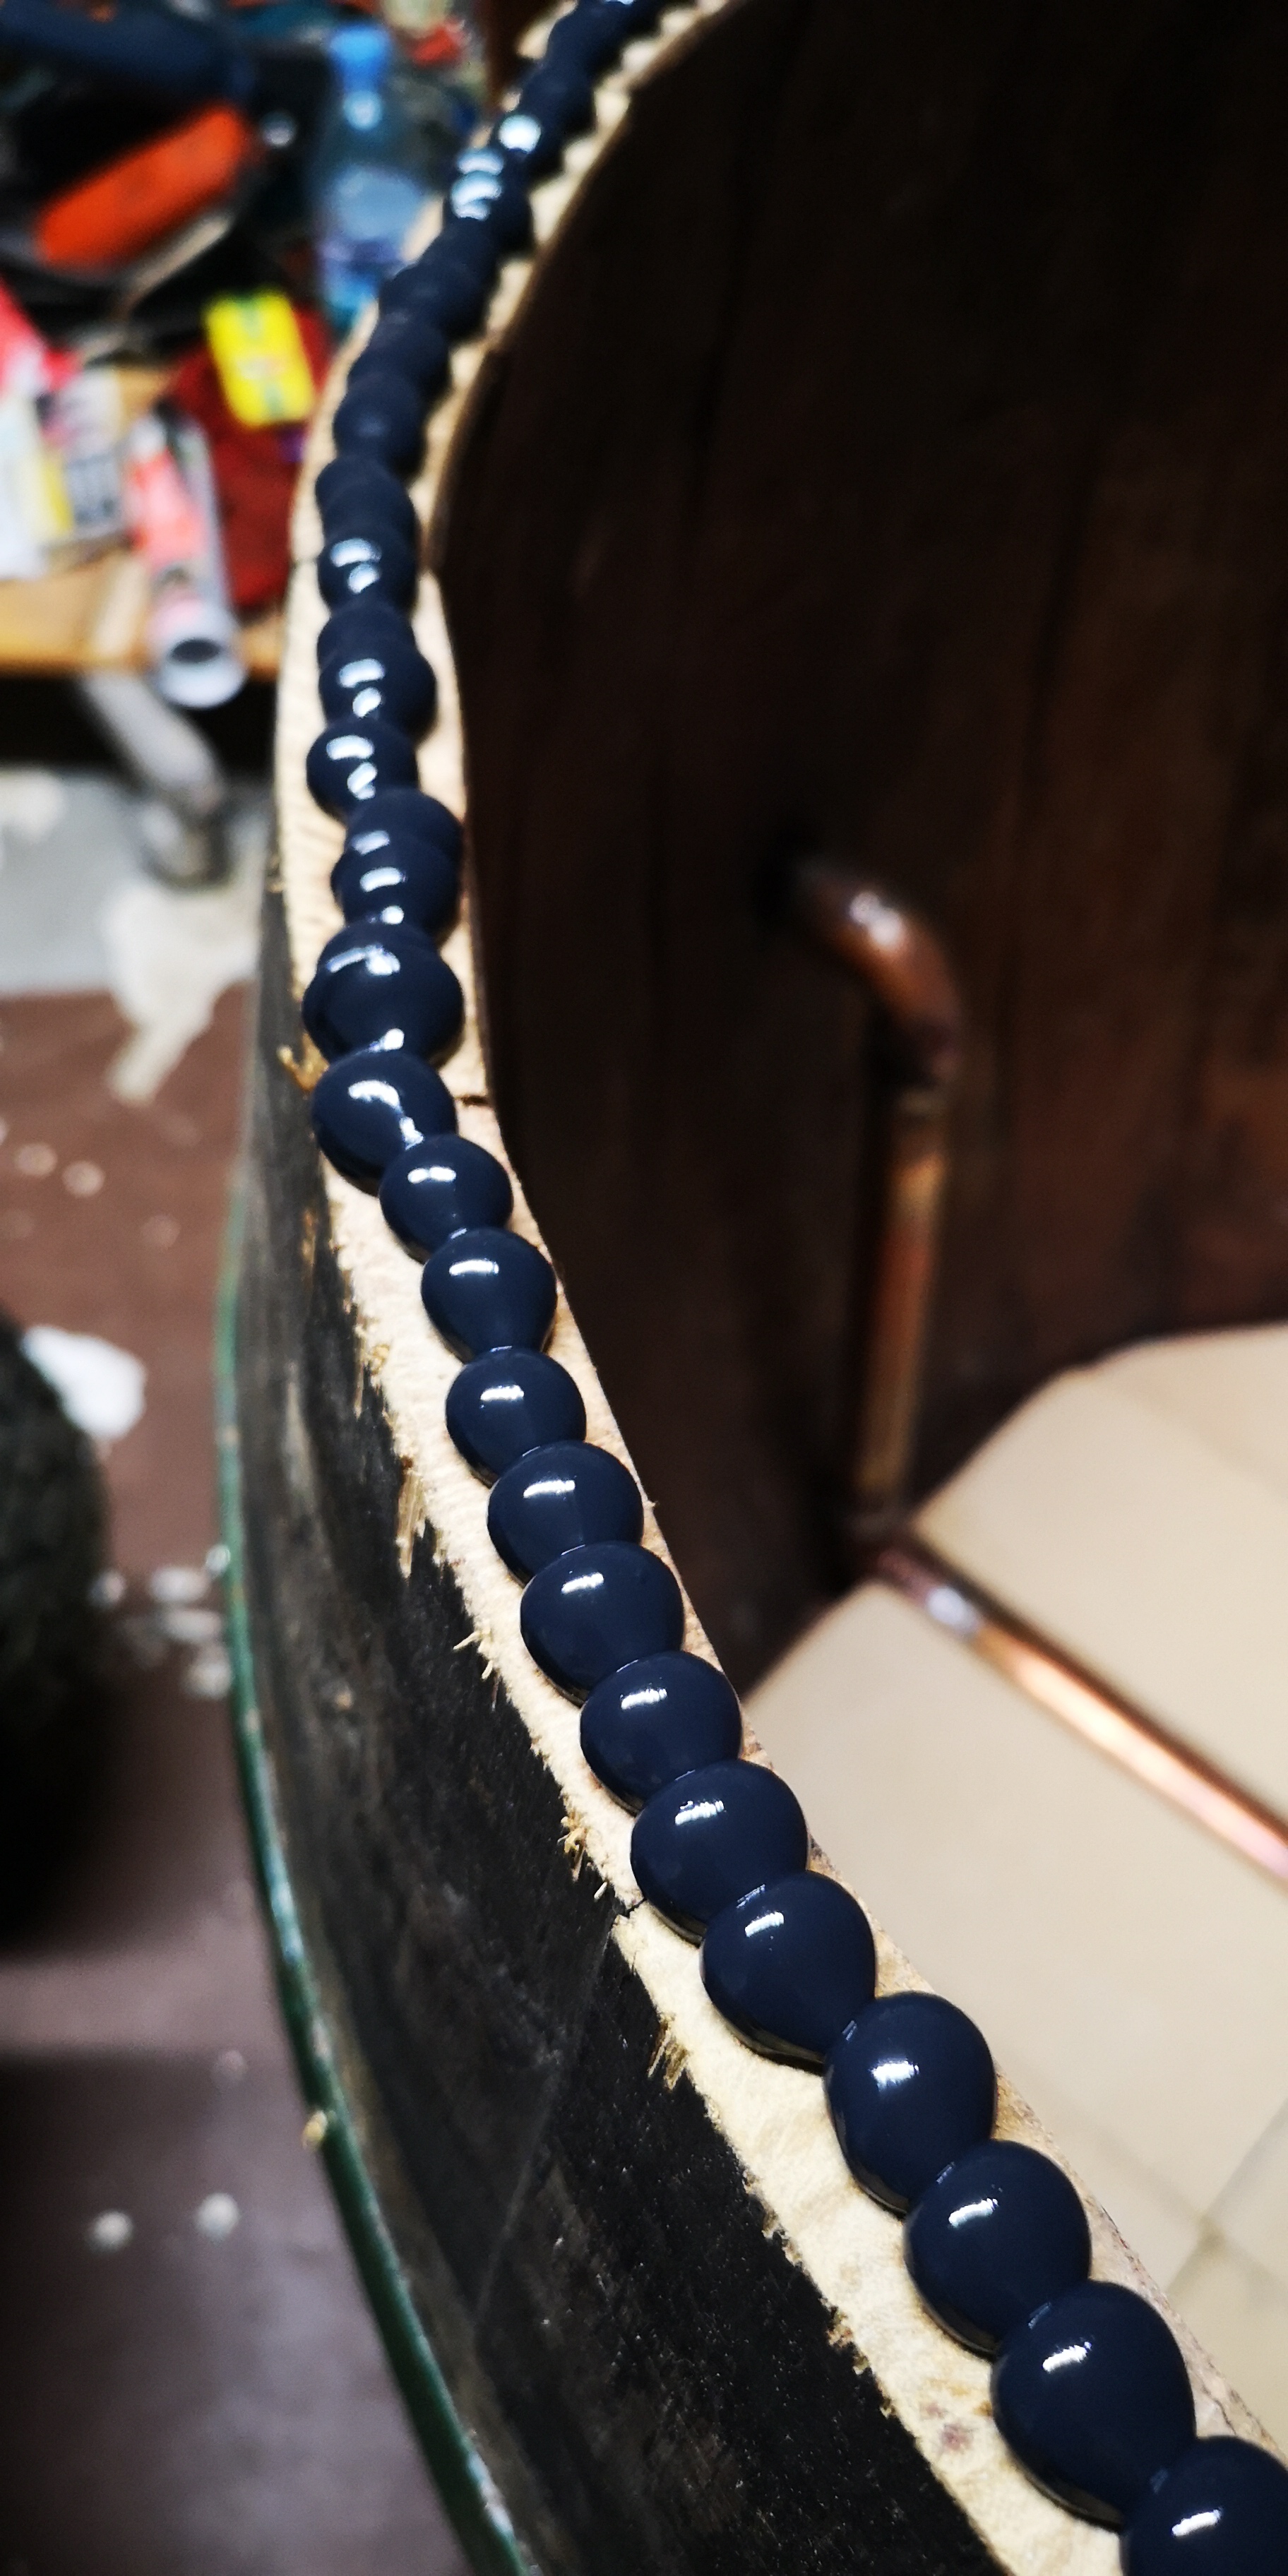 The silicone at the sides was added because of the shrinking of the wood.
I used some food foil on the silicone and put the top part onto it to not make it stick to the top part and still make it a snug fit.
Two chains to keep it open
I also added two chains at the sides to make it stay open at a certain angle as can be seen in the picture:
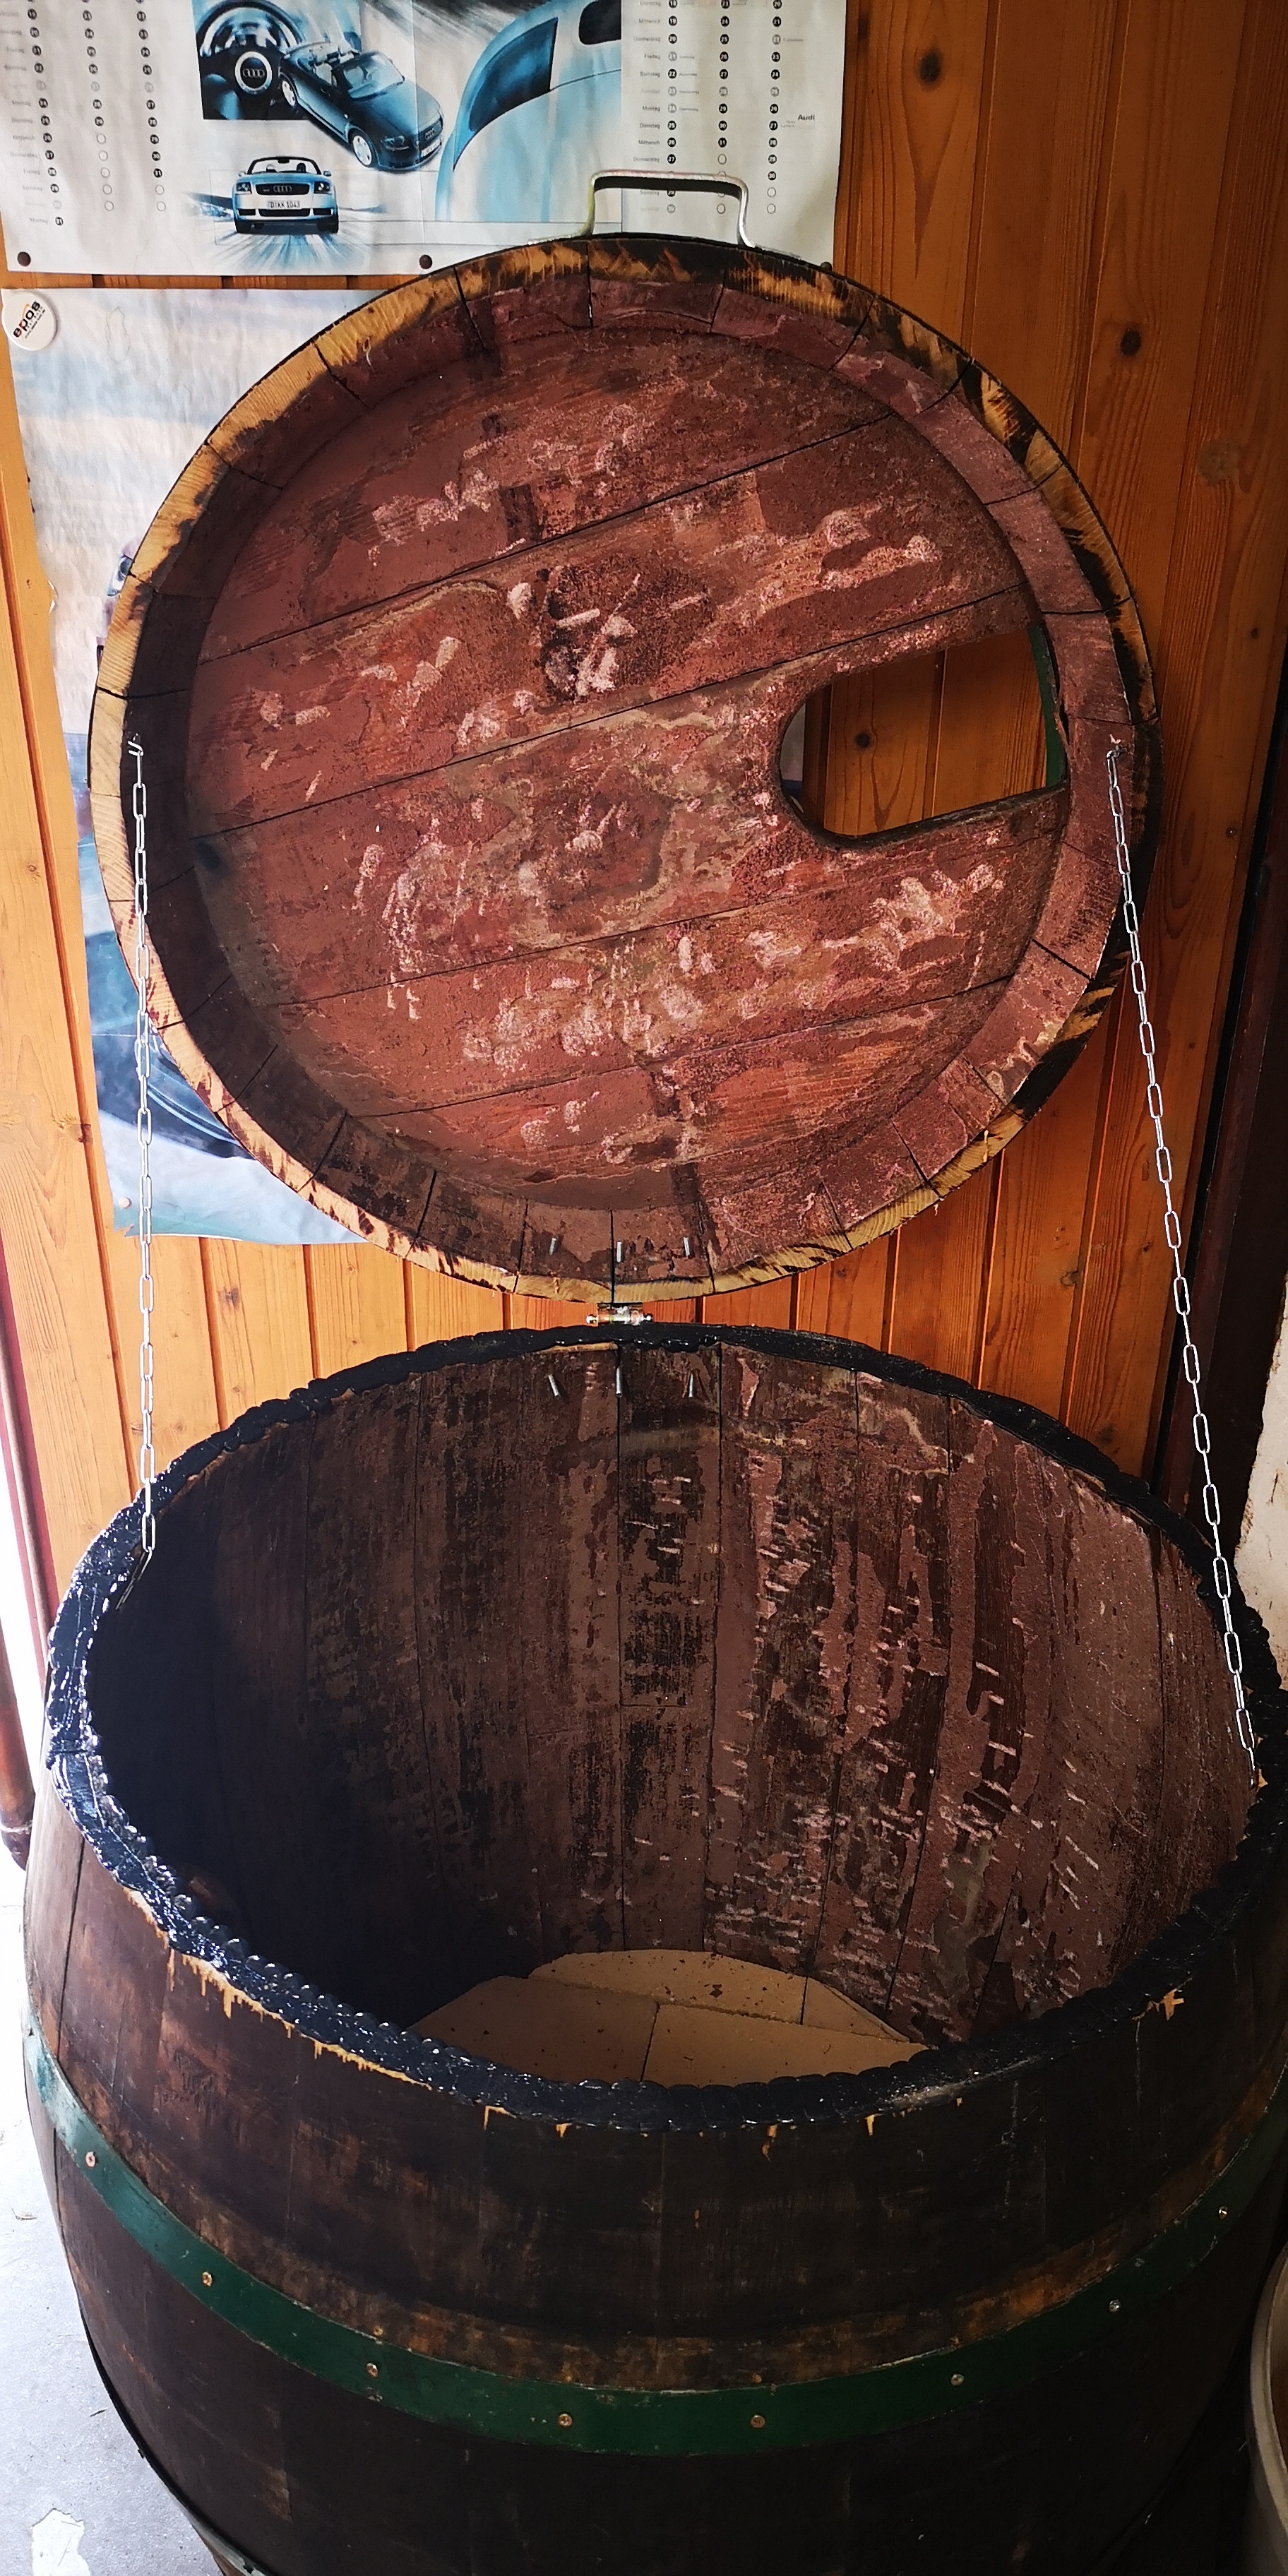
The finished product and intake/exhaust
The intake and exhaust were made twice, as the initial pipes were not enough, so i added holes for smoker intakes.
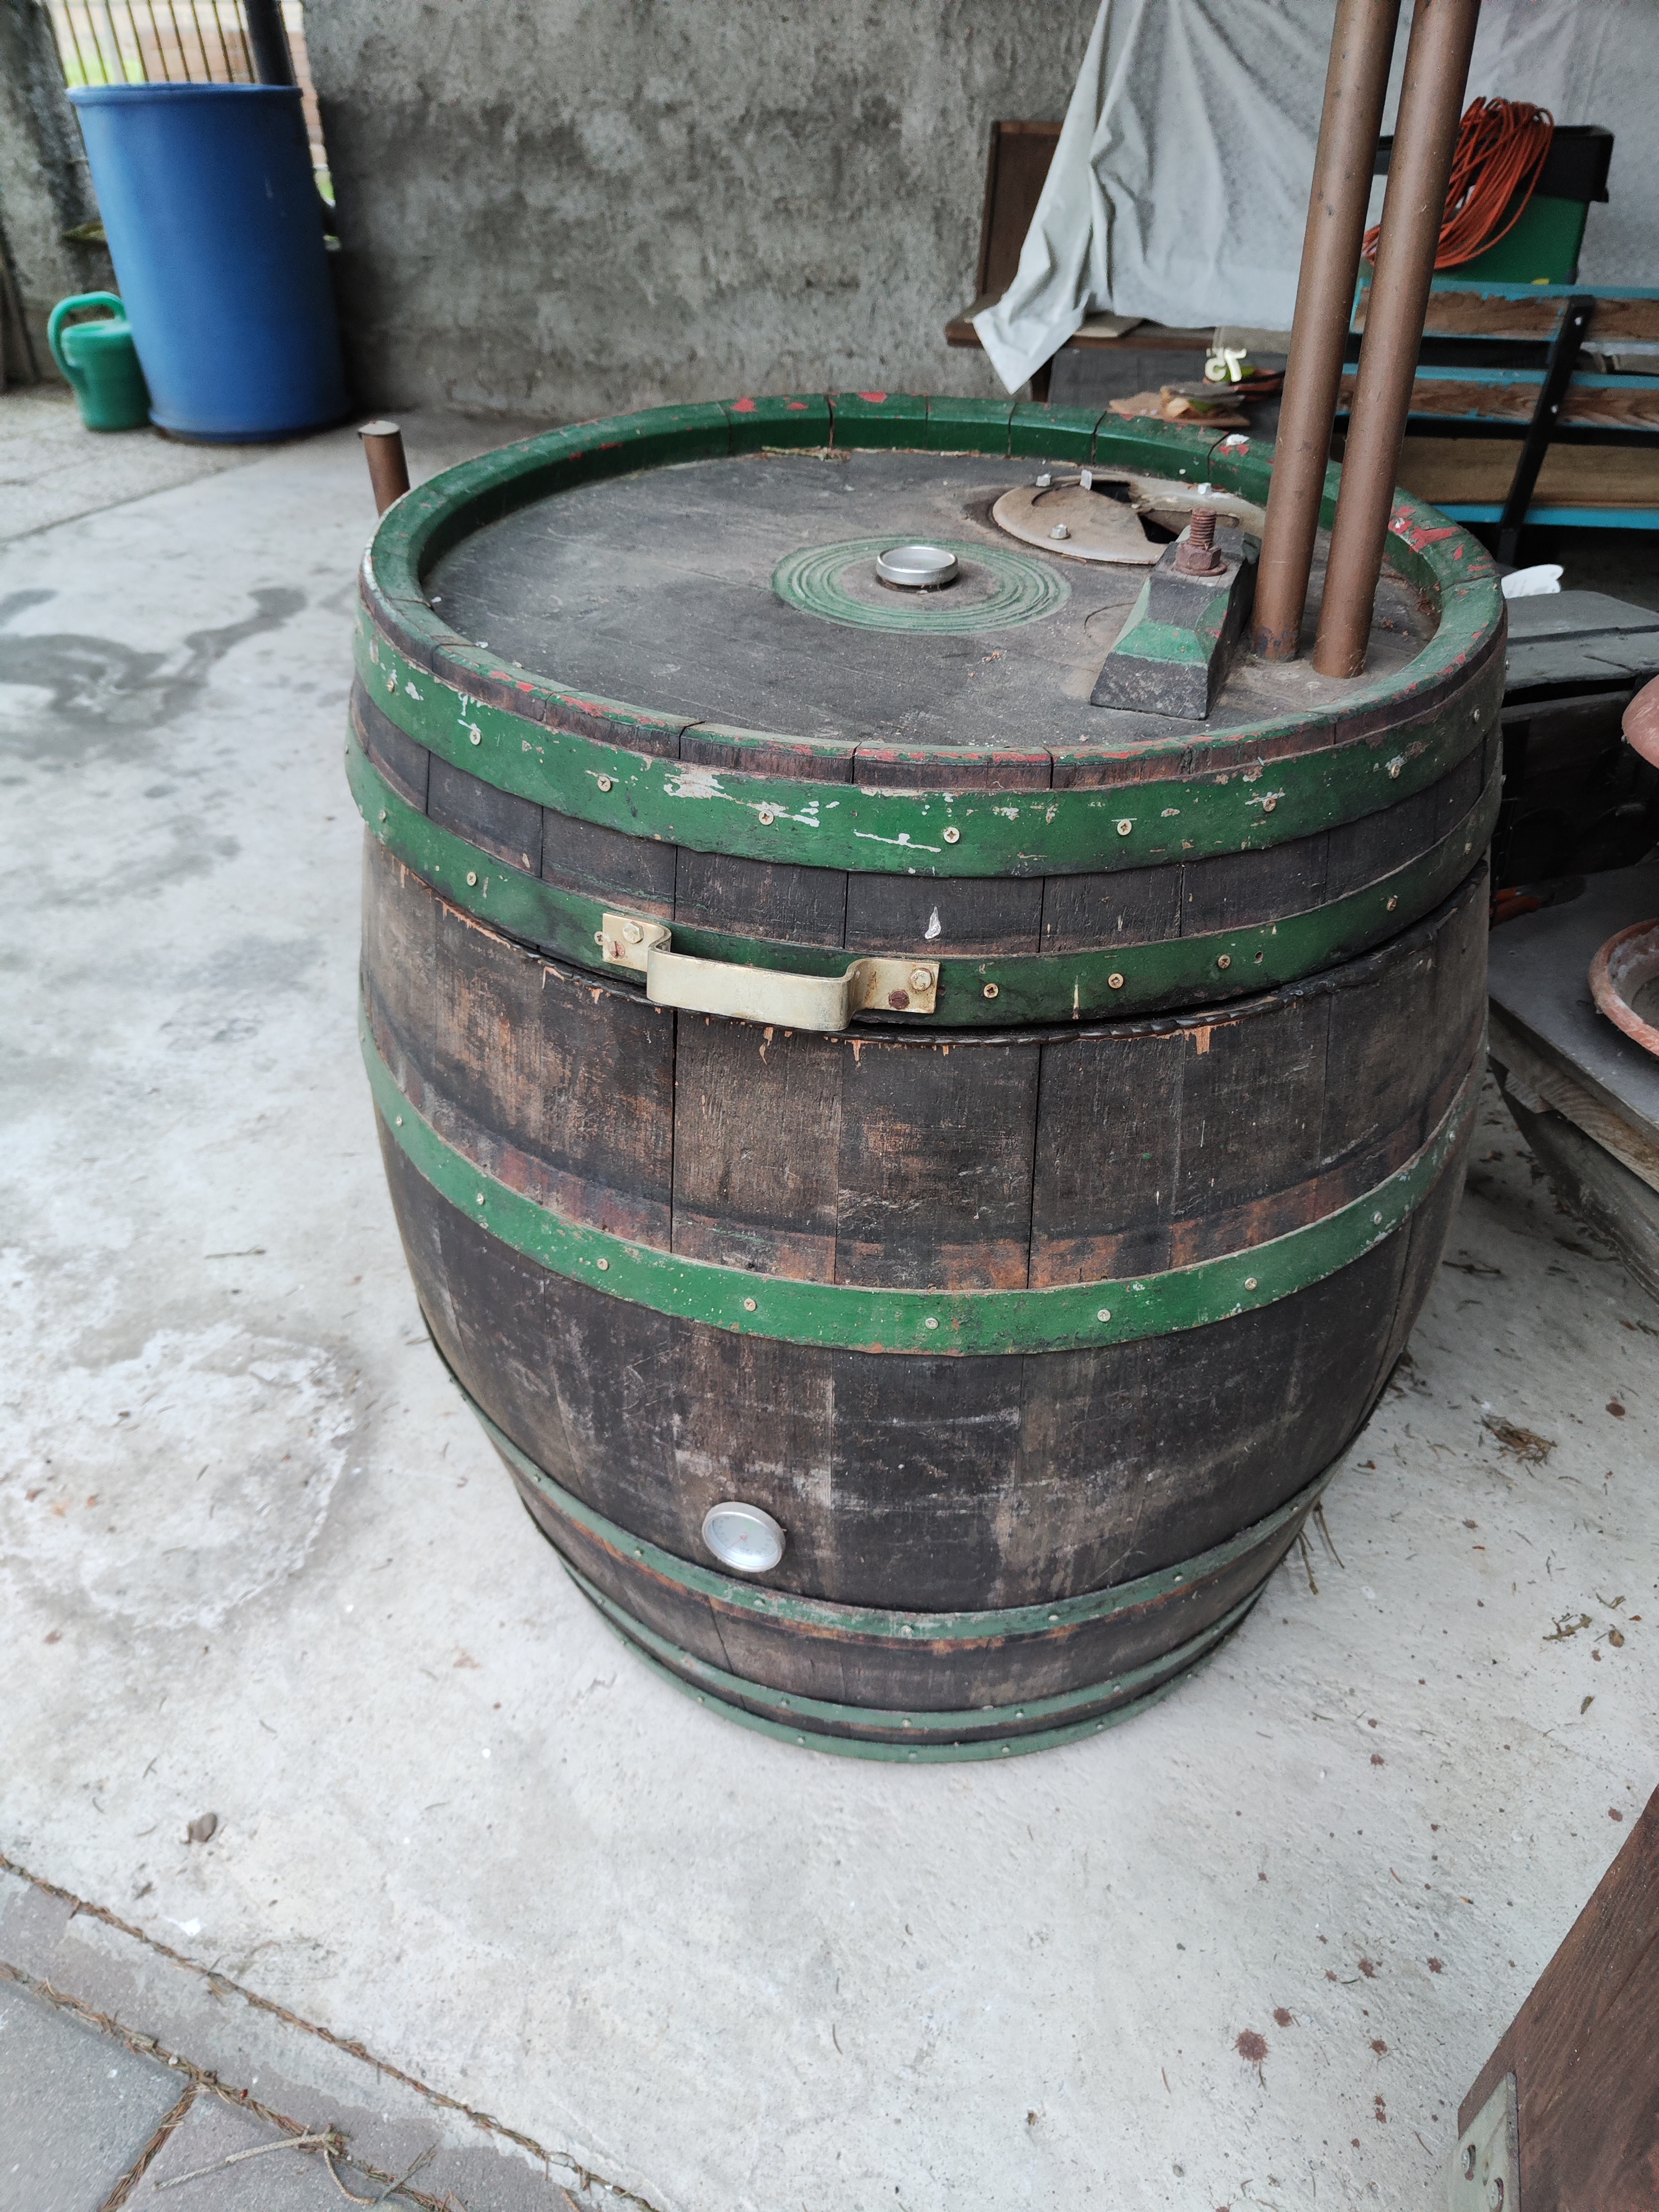
It’s still a barrel, but man does the smoked food taste good. I mostly smoke fish with it because of the barrel wood, to not ruin it. As fish is smoked at a lower temperature.
